DIY: Hangboard Wall Support
Growing up, I’ve found that as I find activities I enjoy I tend to invest both time and money into getting better at them. Climbing is no exception.
I was introduced to climbing, specifically bouldering, during my last semester of college. After moving to Raleigh for employment, I found a local gym so that I could keep bouldering. A few months in, I started seeing serious progress and I started training niche muscualar development to improve my climbing power and endurance. One of the training exercises is for finger and forearm endurance training on a hangboard. While my gym had a couple of these training tools, I found that when I was at the gym I wanted to climb, not train. By the time I’d finished climbing, I’d be too wiped to be able to focus carefully on specific training of my fingers and forearms.
So now, insert my desire to invest in training at home.
Hangboard Training (@ Home) 
My first thought was to mimic the home setups I’d seen before - just mount a hangboard on a 2x8 slab over a door frame. However, I knew I’d want to use chalk (because my hands sweat just from thinking about climbing) and didn’t want that mess on my carpet. So I waited until I moved into a place with a garage - the perfect place for training activities. The new problem was now that rather than mounting a hangboard over a doorframe in the garage, I wanted to create a structure which would offset the handboard from a flat surface (i.e. wall) enough that I wouldn’t be hanging with my nose against the drywall.
This was just the opportunity I was looking for to spend personal time on a woodworking project. Throughout my teenage and early-adult years, I’ve had multiple experiences with building porches and wheelchair ramps at various mission trips with much enjoyment. So I had experience with power tools and construction DIY instructions - now I just had to create instructions for myself!
So… given my intrigue of engineering, desire to train for climbing at home, and preference for my garage to house my project, I decided to build a wall support for a hangboard.
Hangboard Acquisition 
Before beginning this project, I needed a hangboard to which to build around. To Craigslist, I went! After about a month or so, I found someone selling a Metolius Simulator 3D (the older model) for real cheap. I believe I only paid $20 for it!
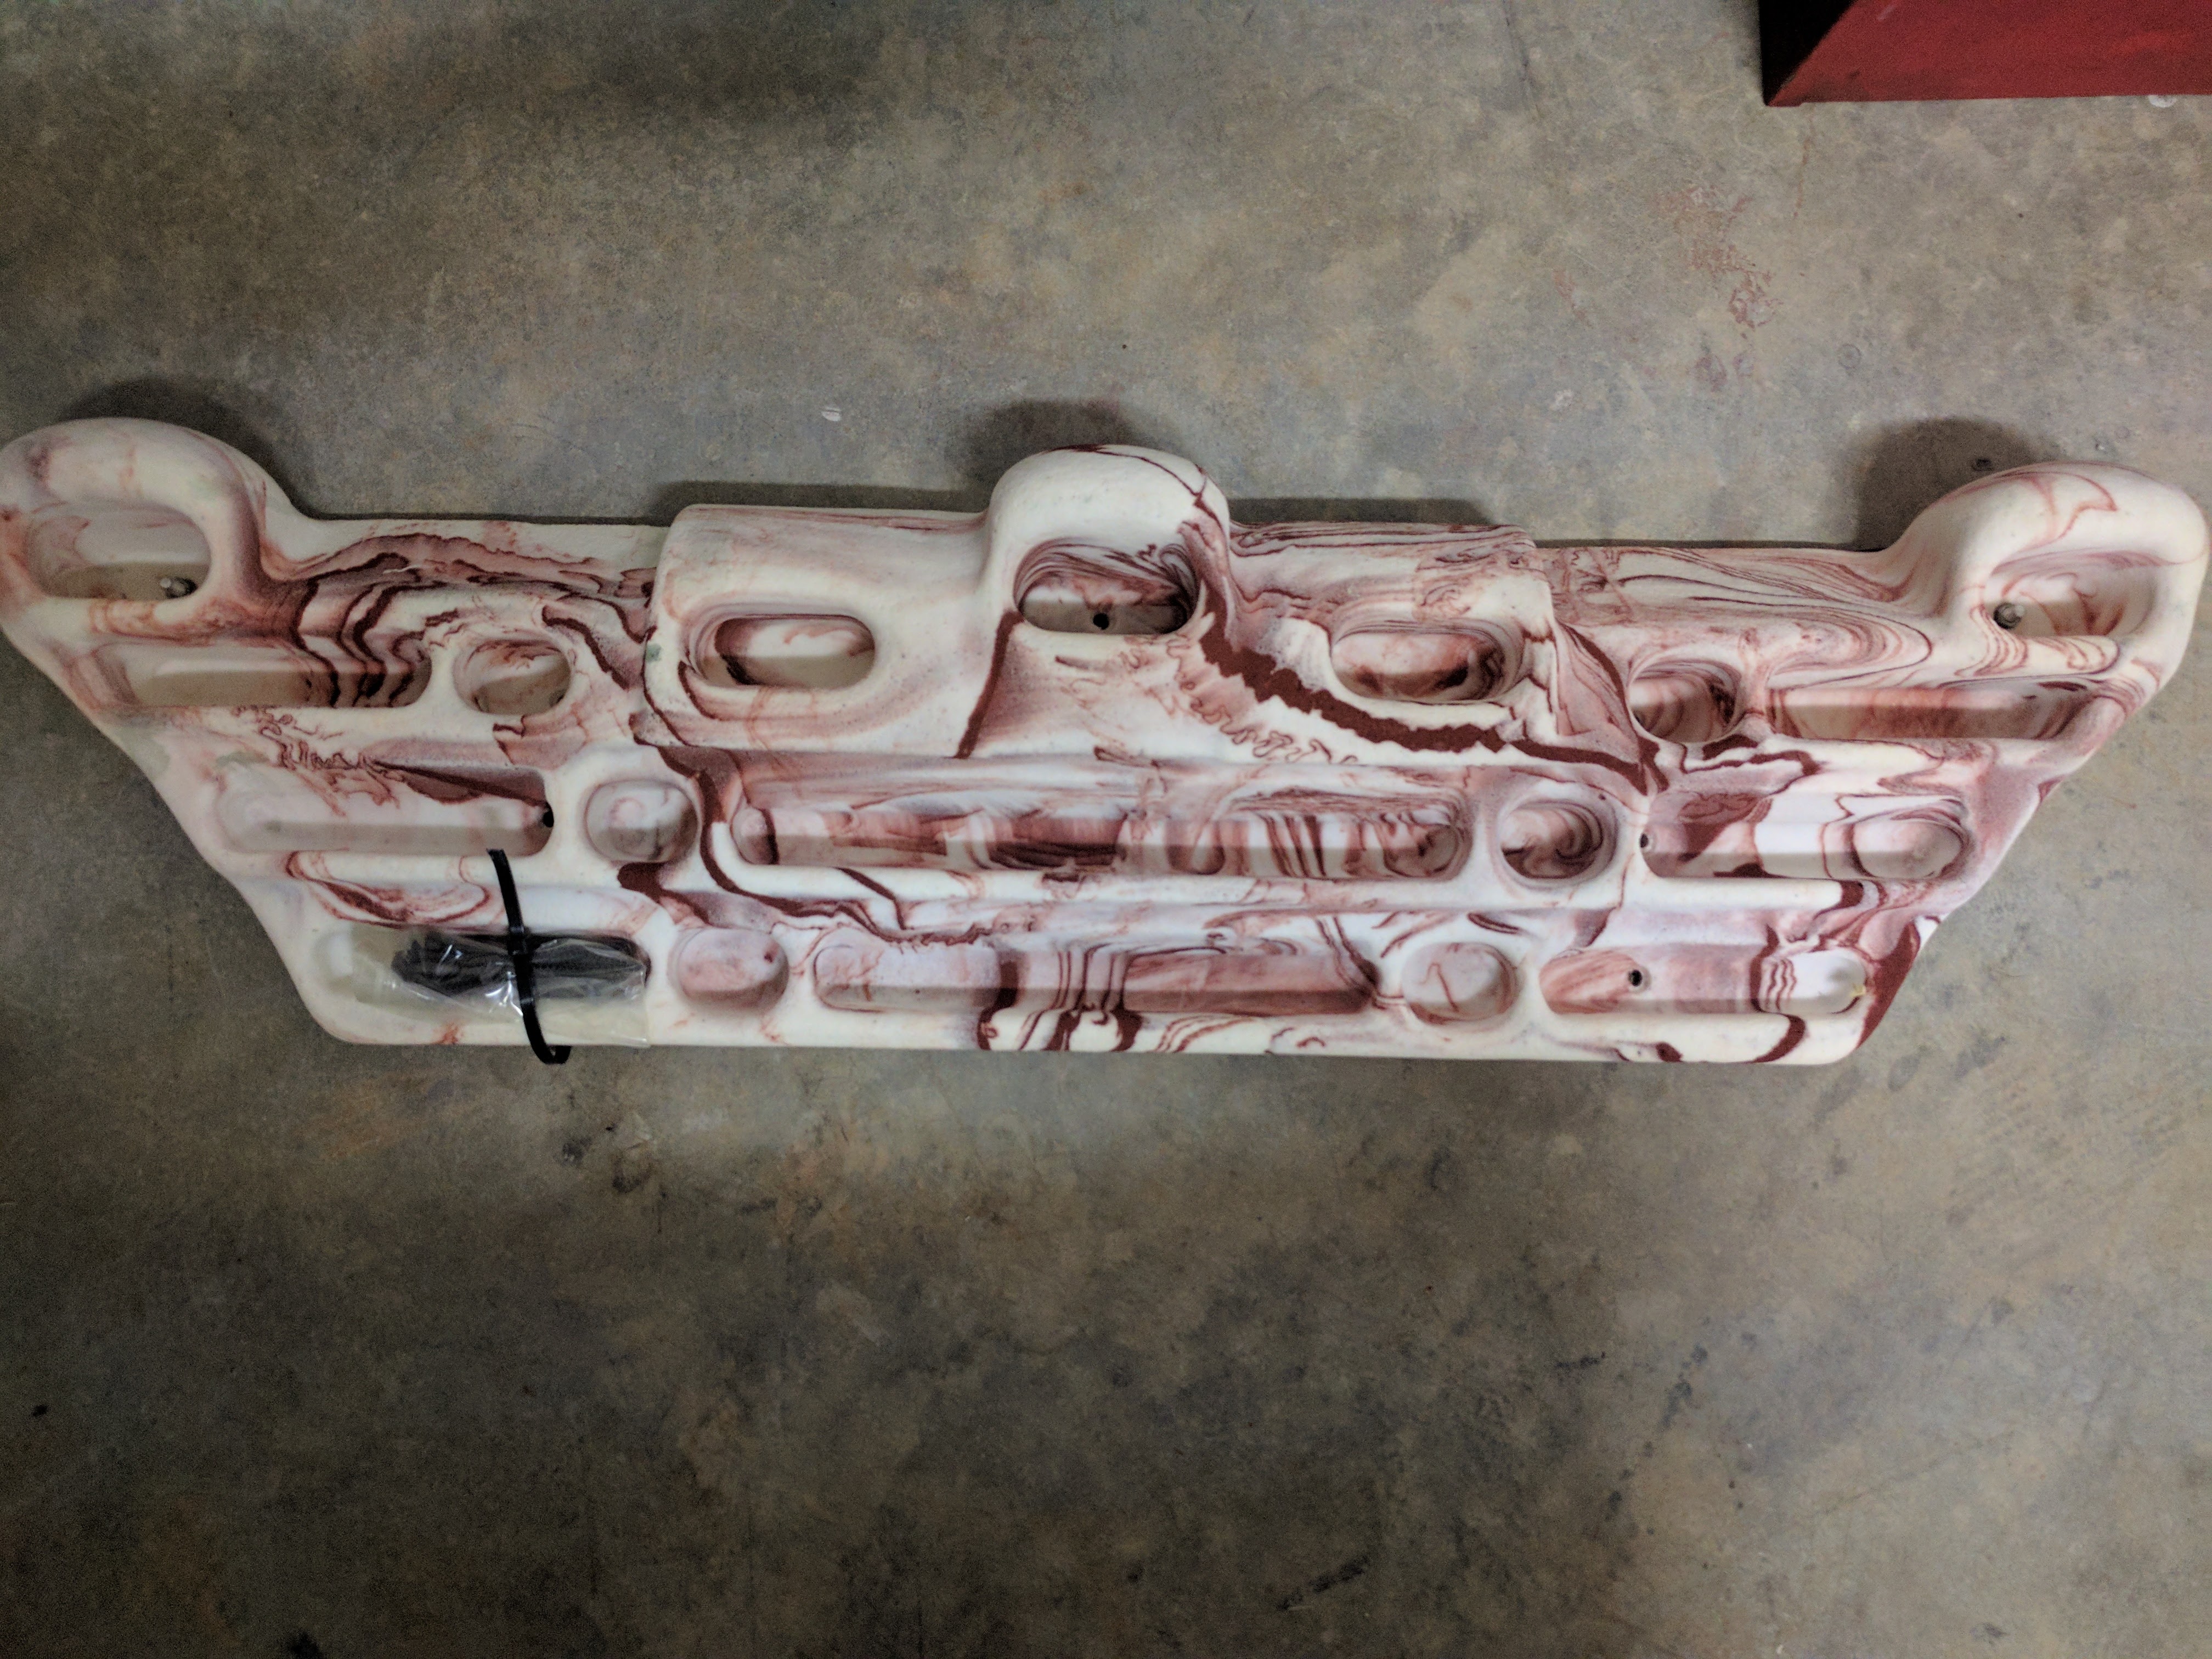
Structural Design & Material Acquisition 
Now that I had a hangboard, I then knew the dimensions I had to work with for the face of the support.
Given the face dimensions and preferred distance away from wall, I chose my measurements such that I would only need to purchase a single sheet of MDF.
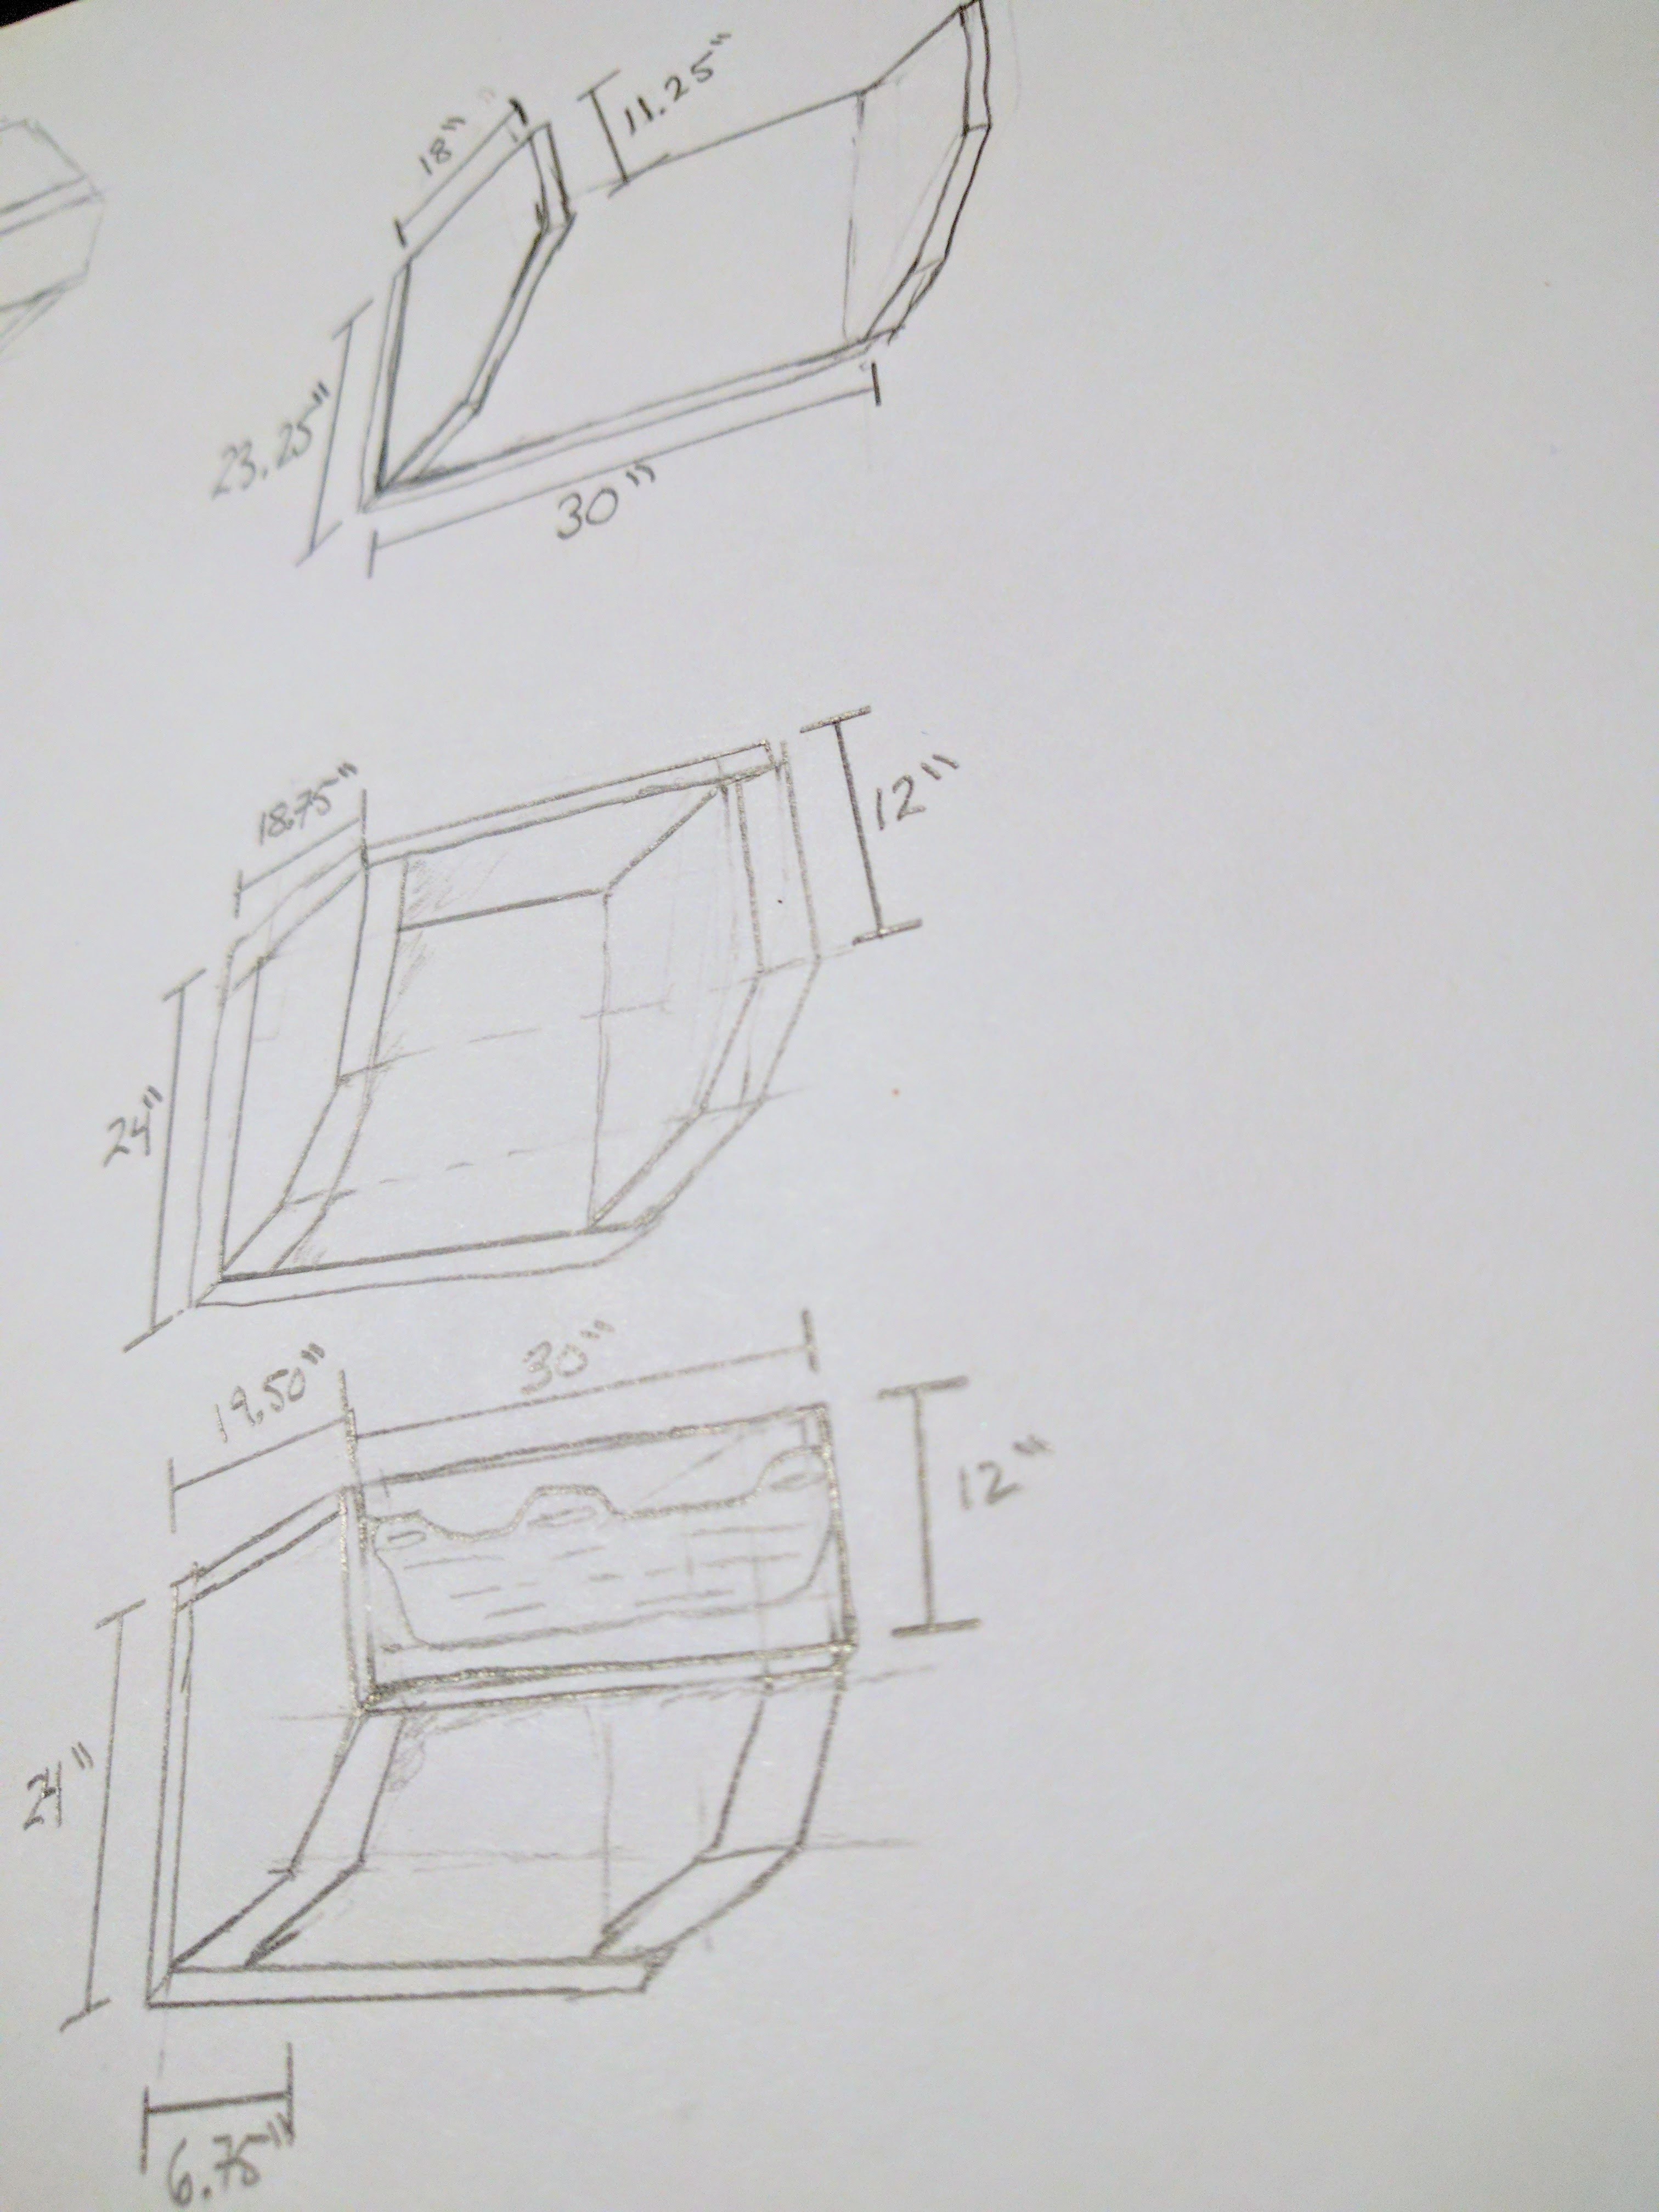 Visual Design Plan, from multiple assembly stages
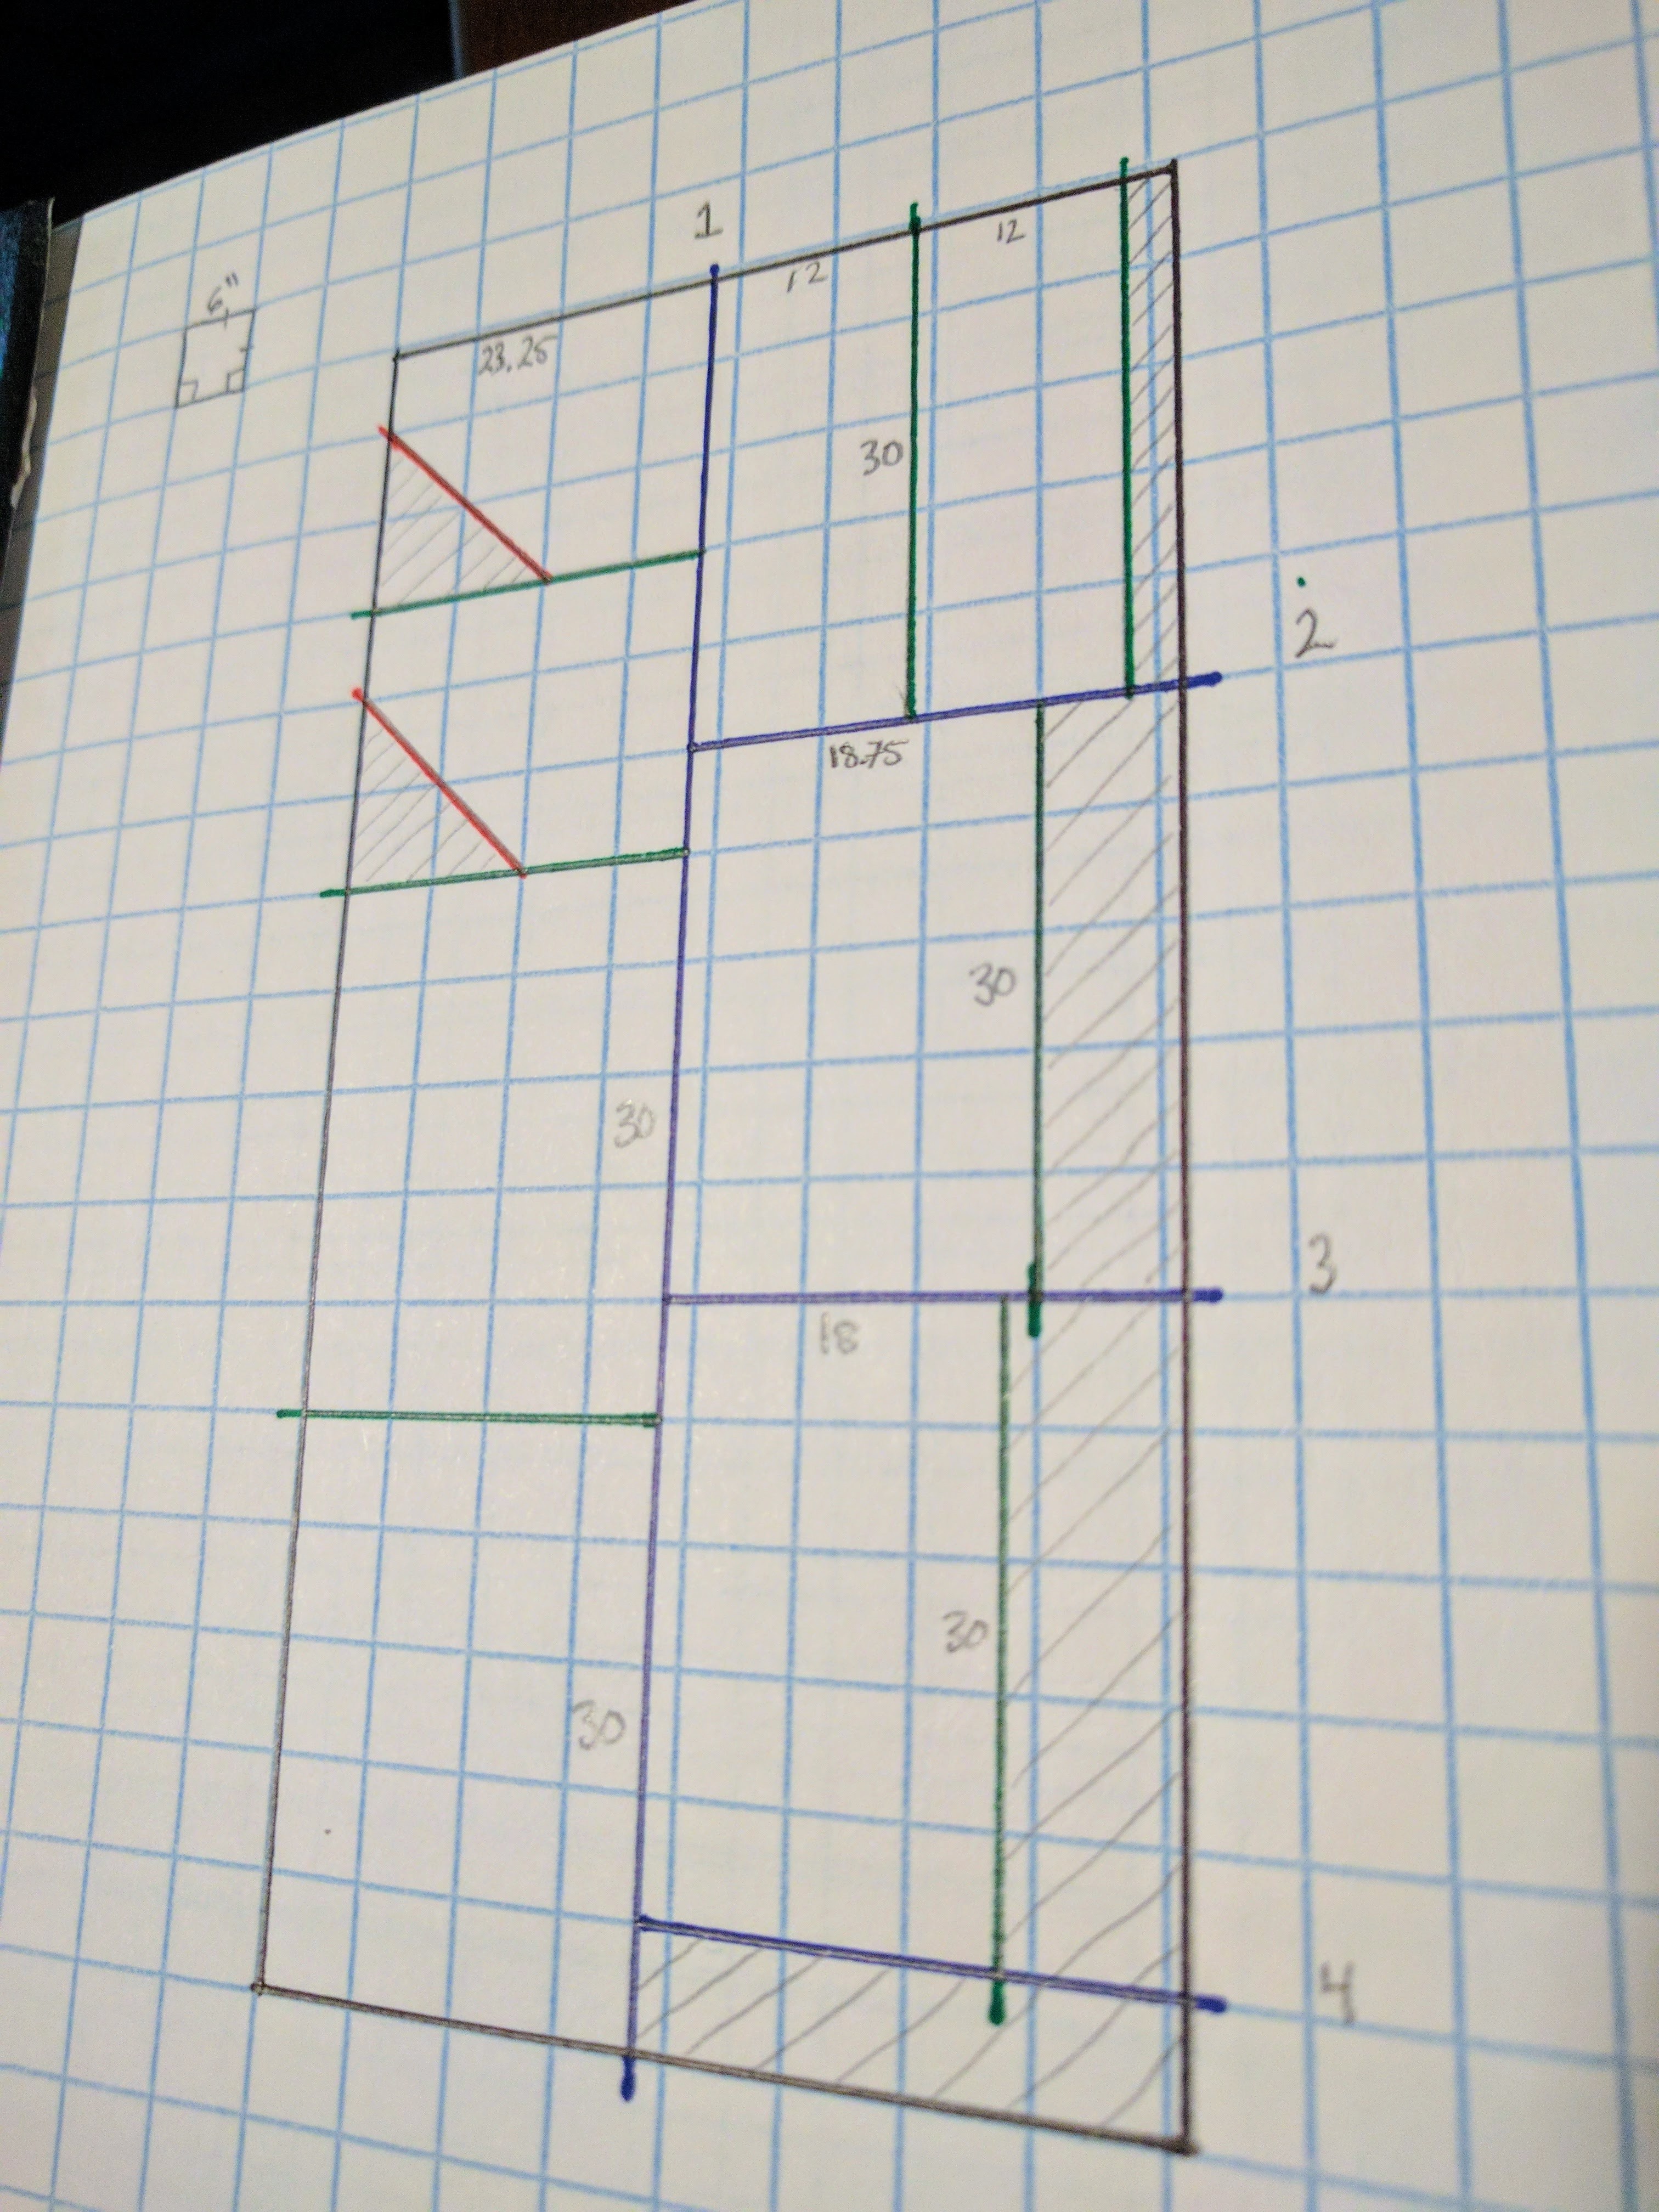 MDF Teardown Plans
It was then time to get materials. I went to Lowes, had to ask for the .75” MDF which was on the very very top of the storage shelving. They grabbed the wrong stuff at first, so they gave me a discount for waiting patiently for over 15 minutes. I then measured and marked my sheet and got an employee to cut it for me on their saw.
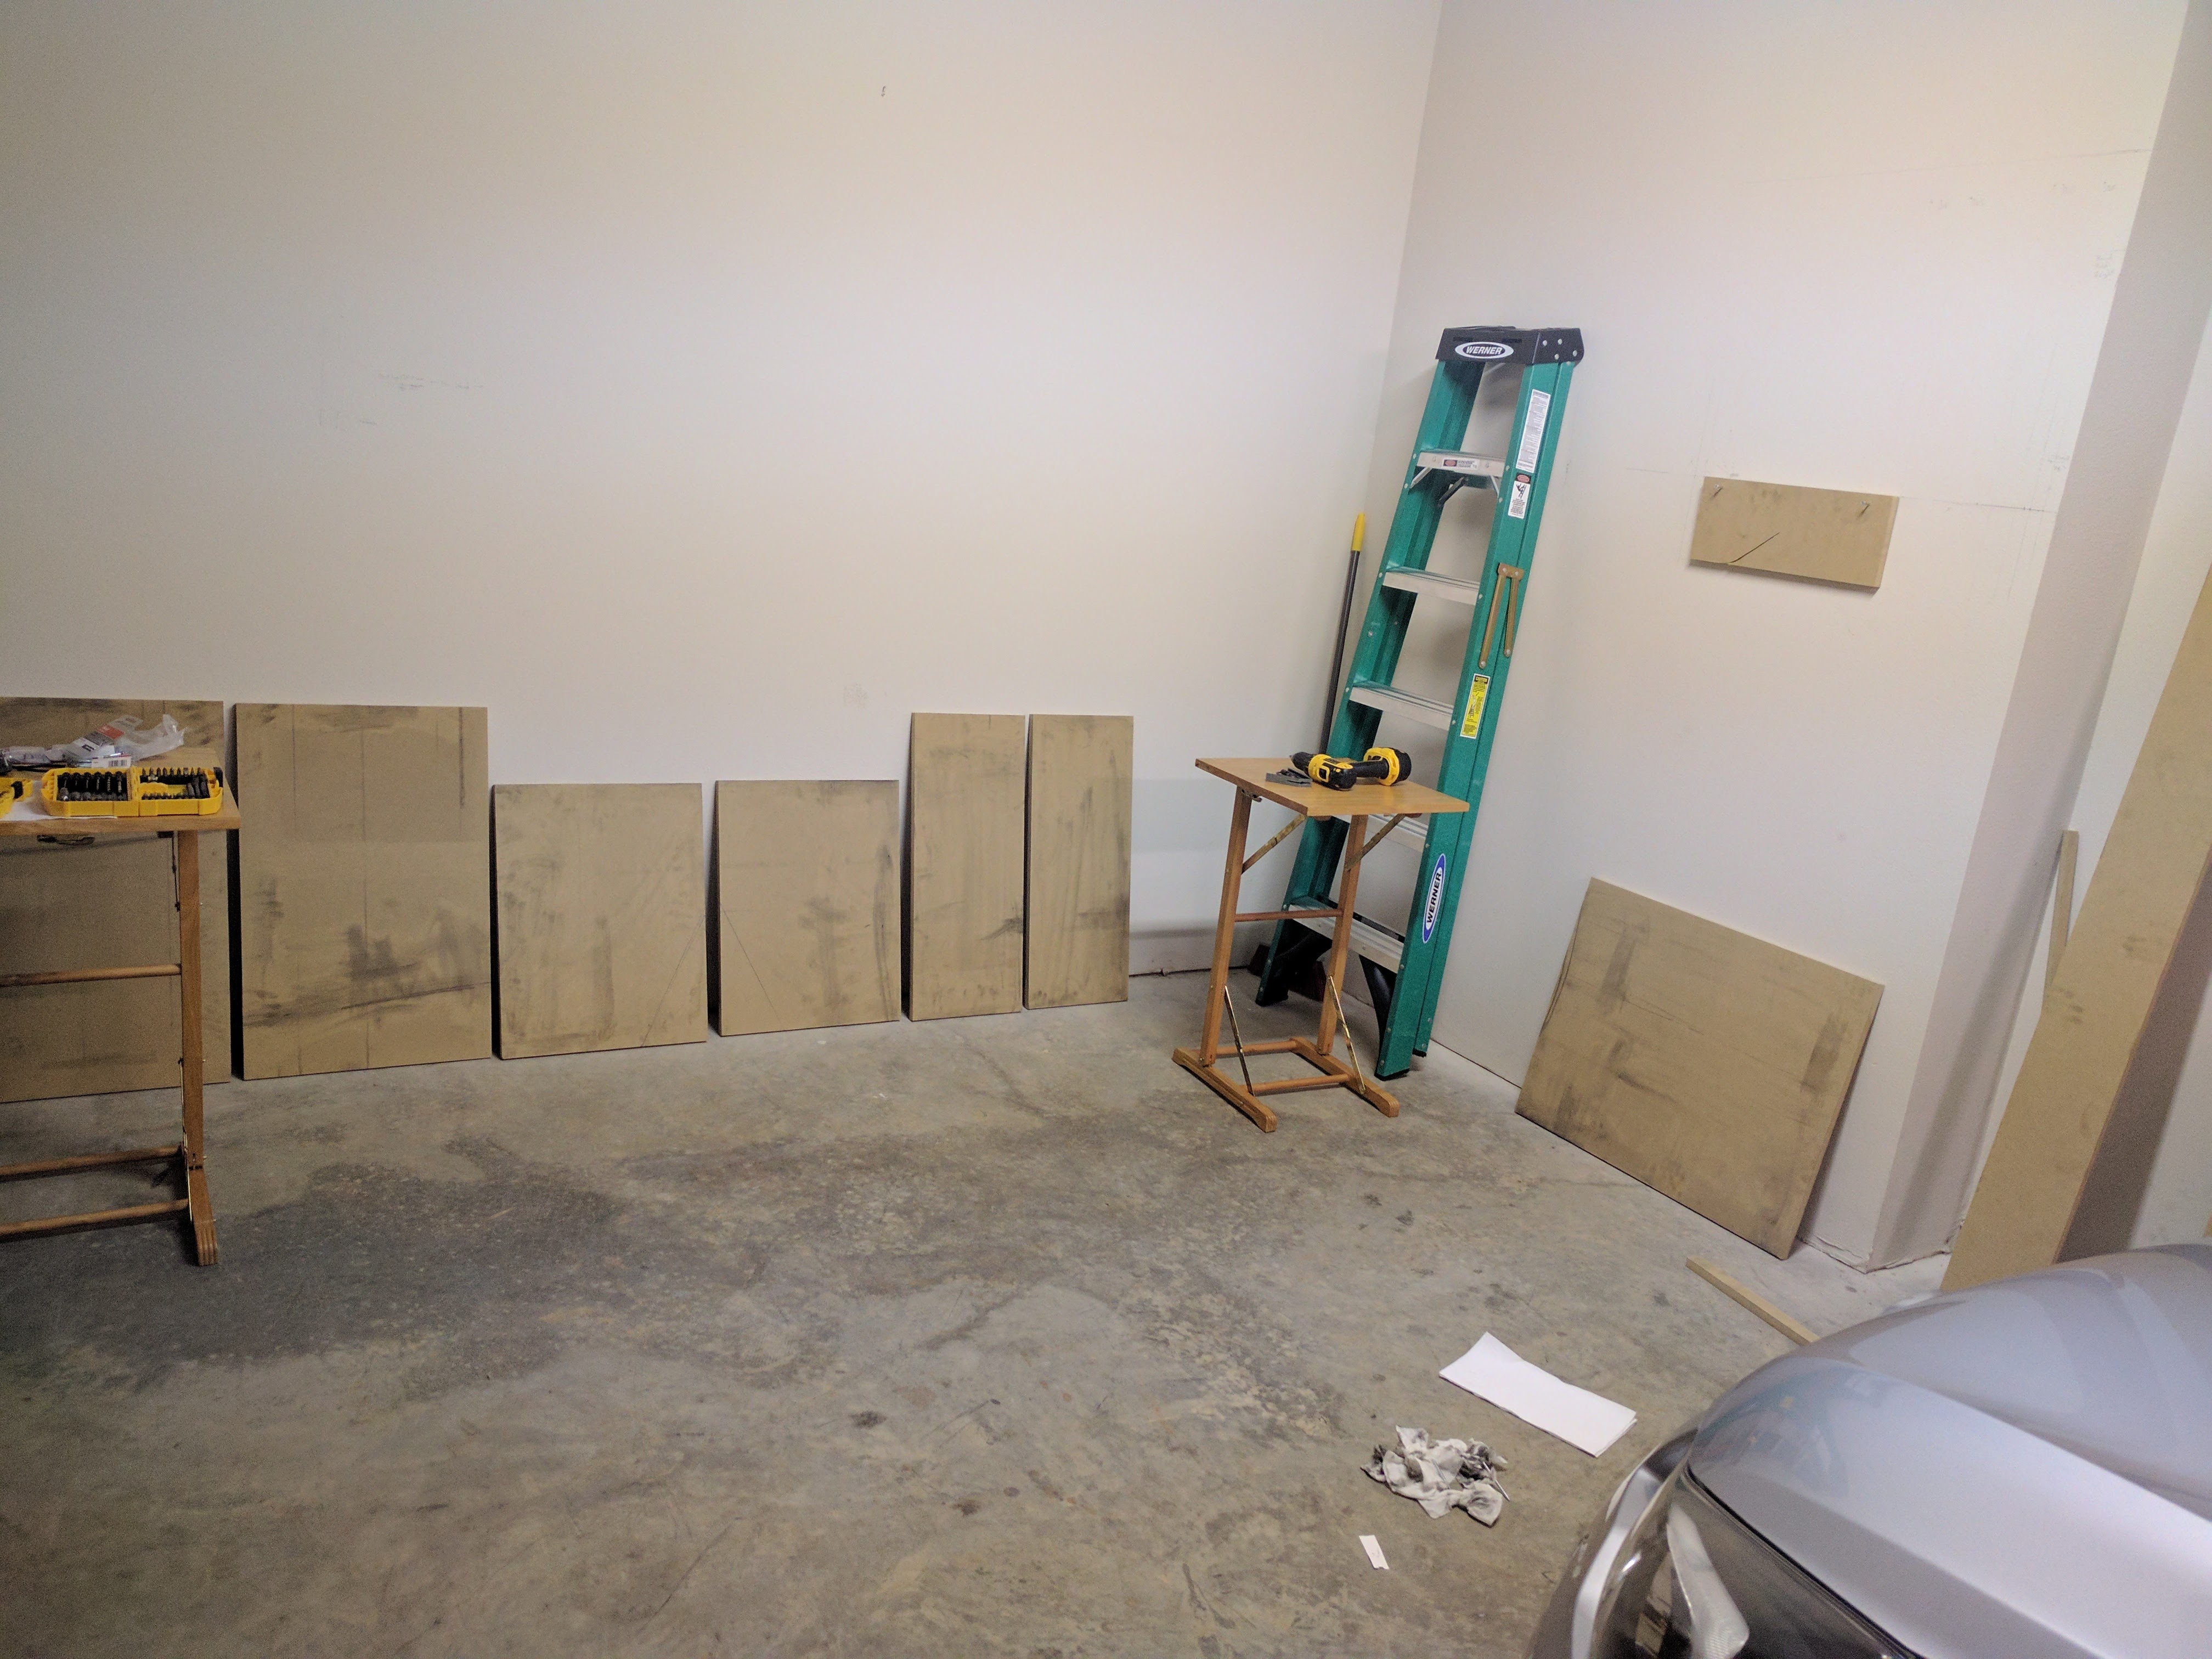 Post-cut MDF
Assembly 
Since I was now very stoked to get this project going, I spent the next few evenings assembling the structure.
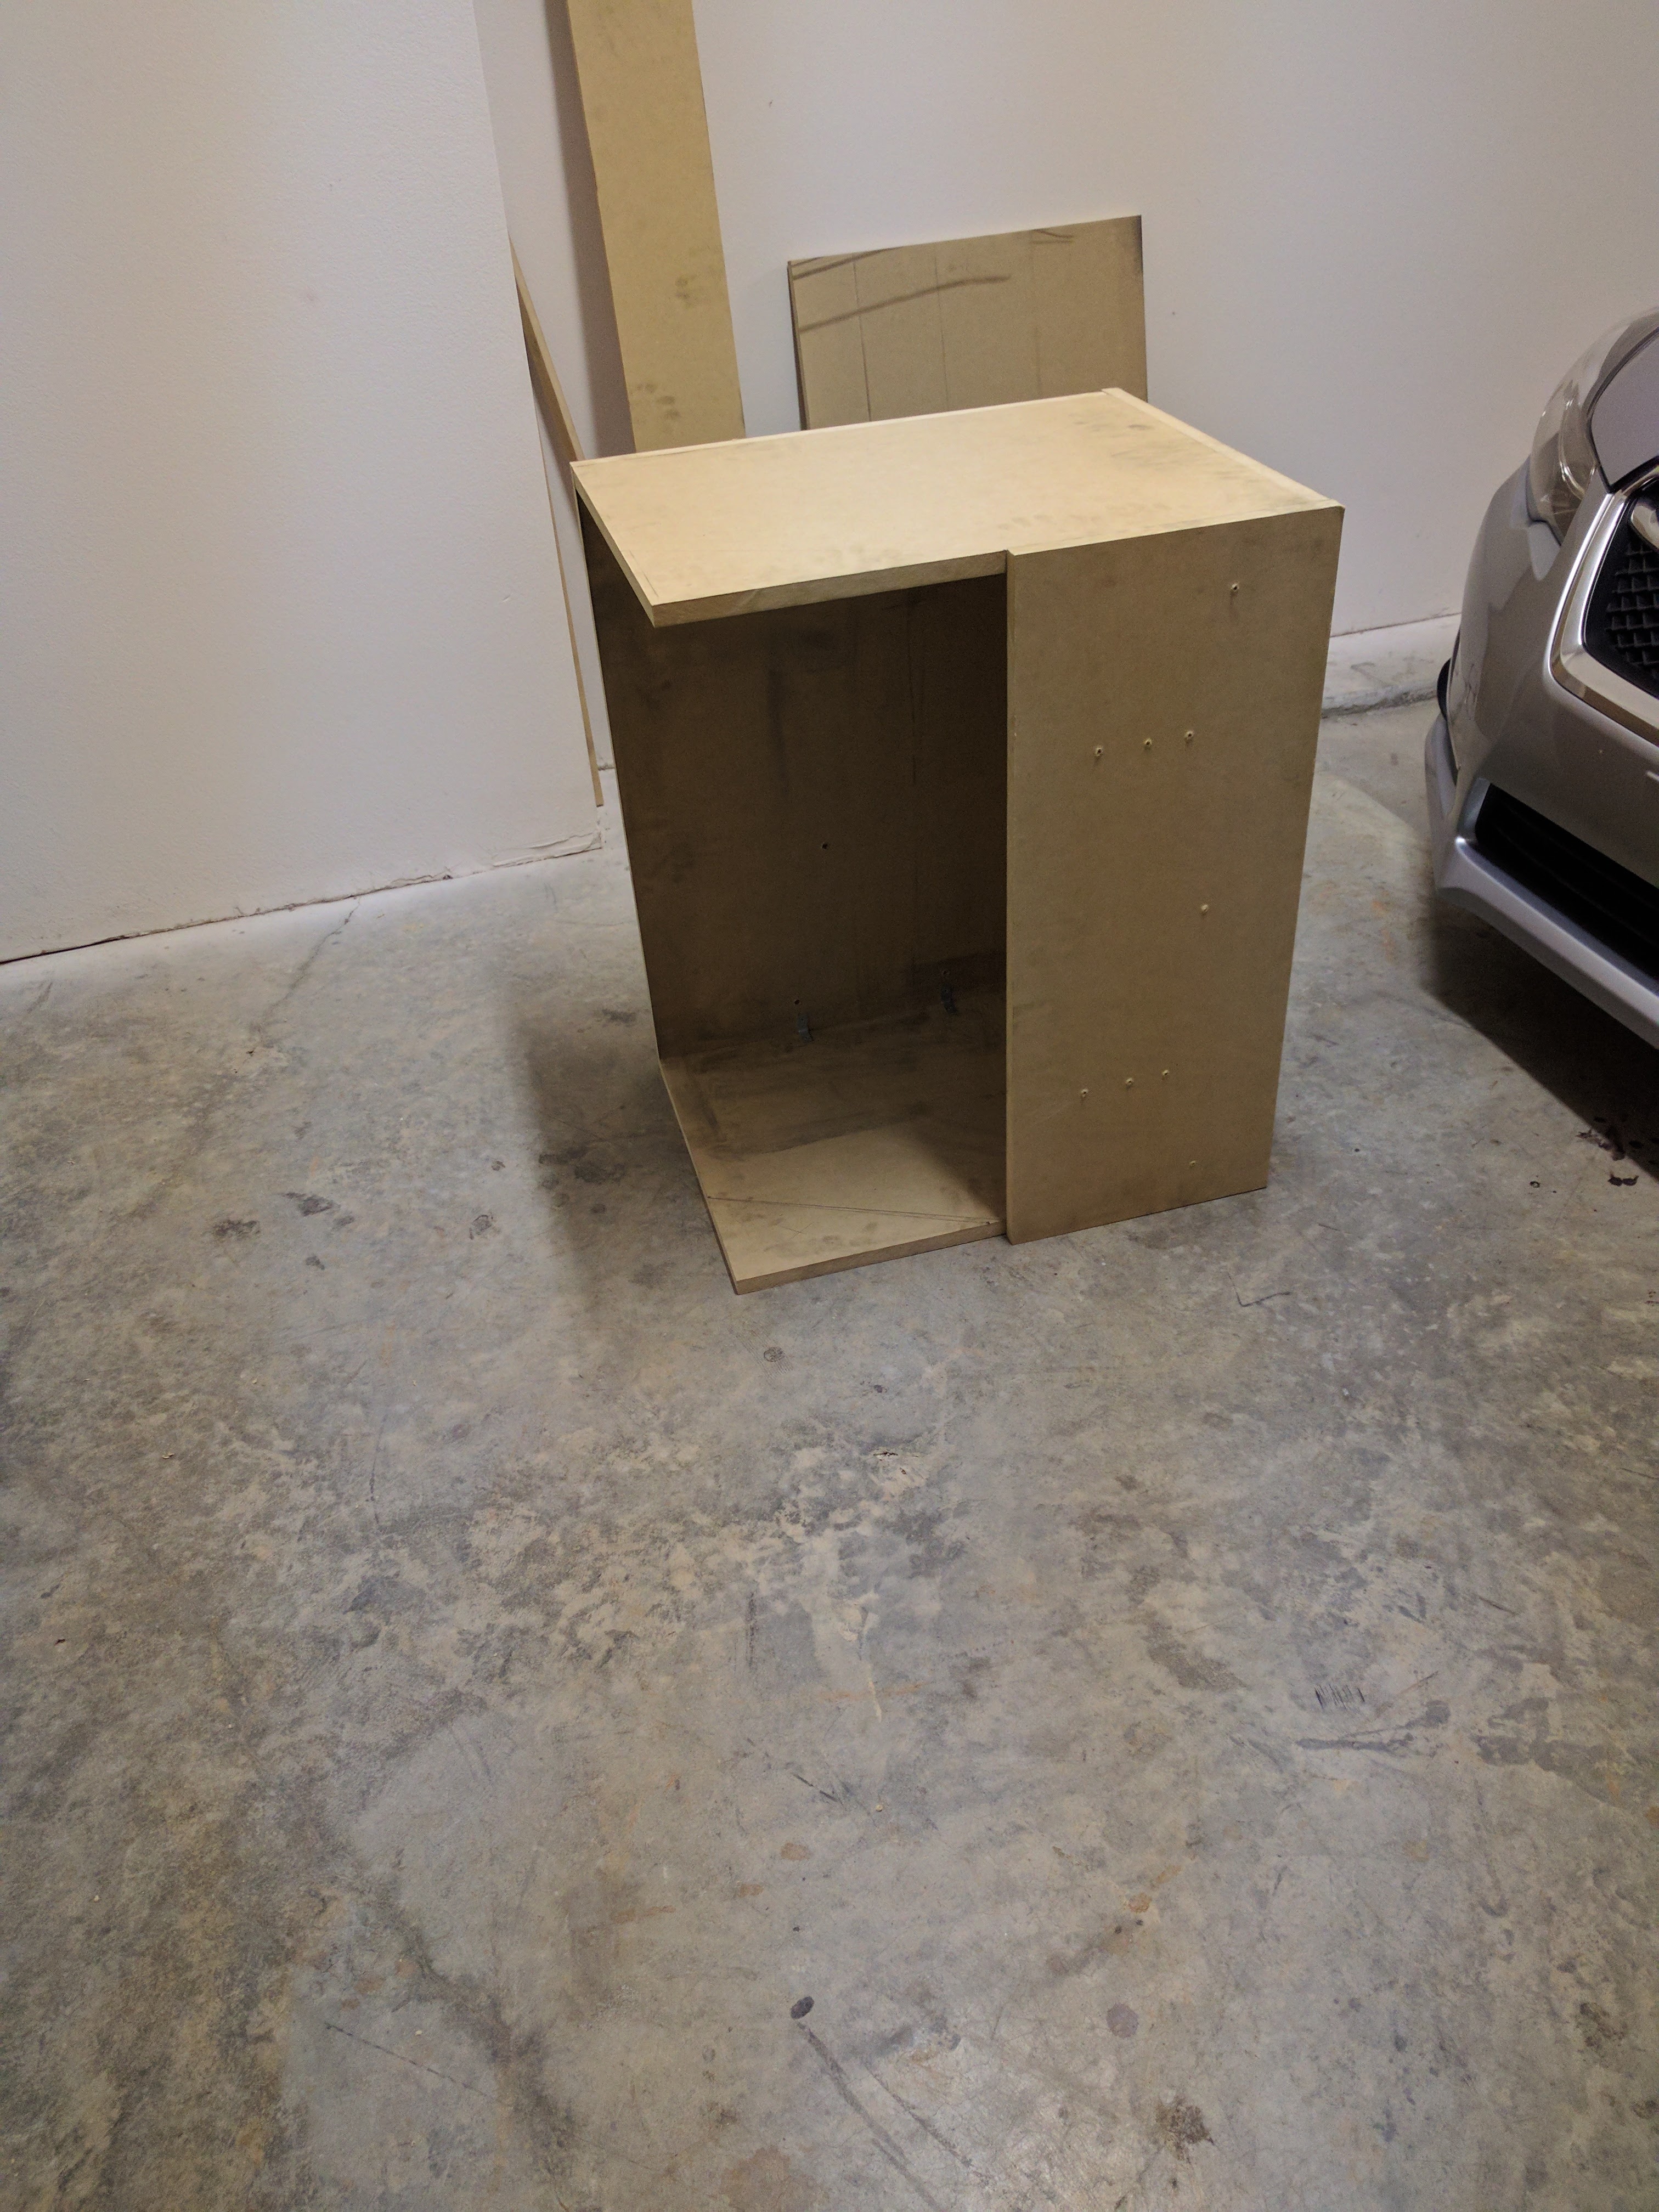 Assembled Support, pre asthetic cutouts
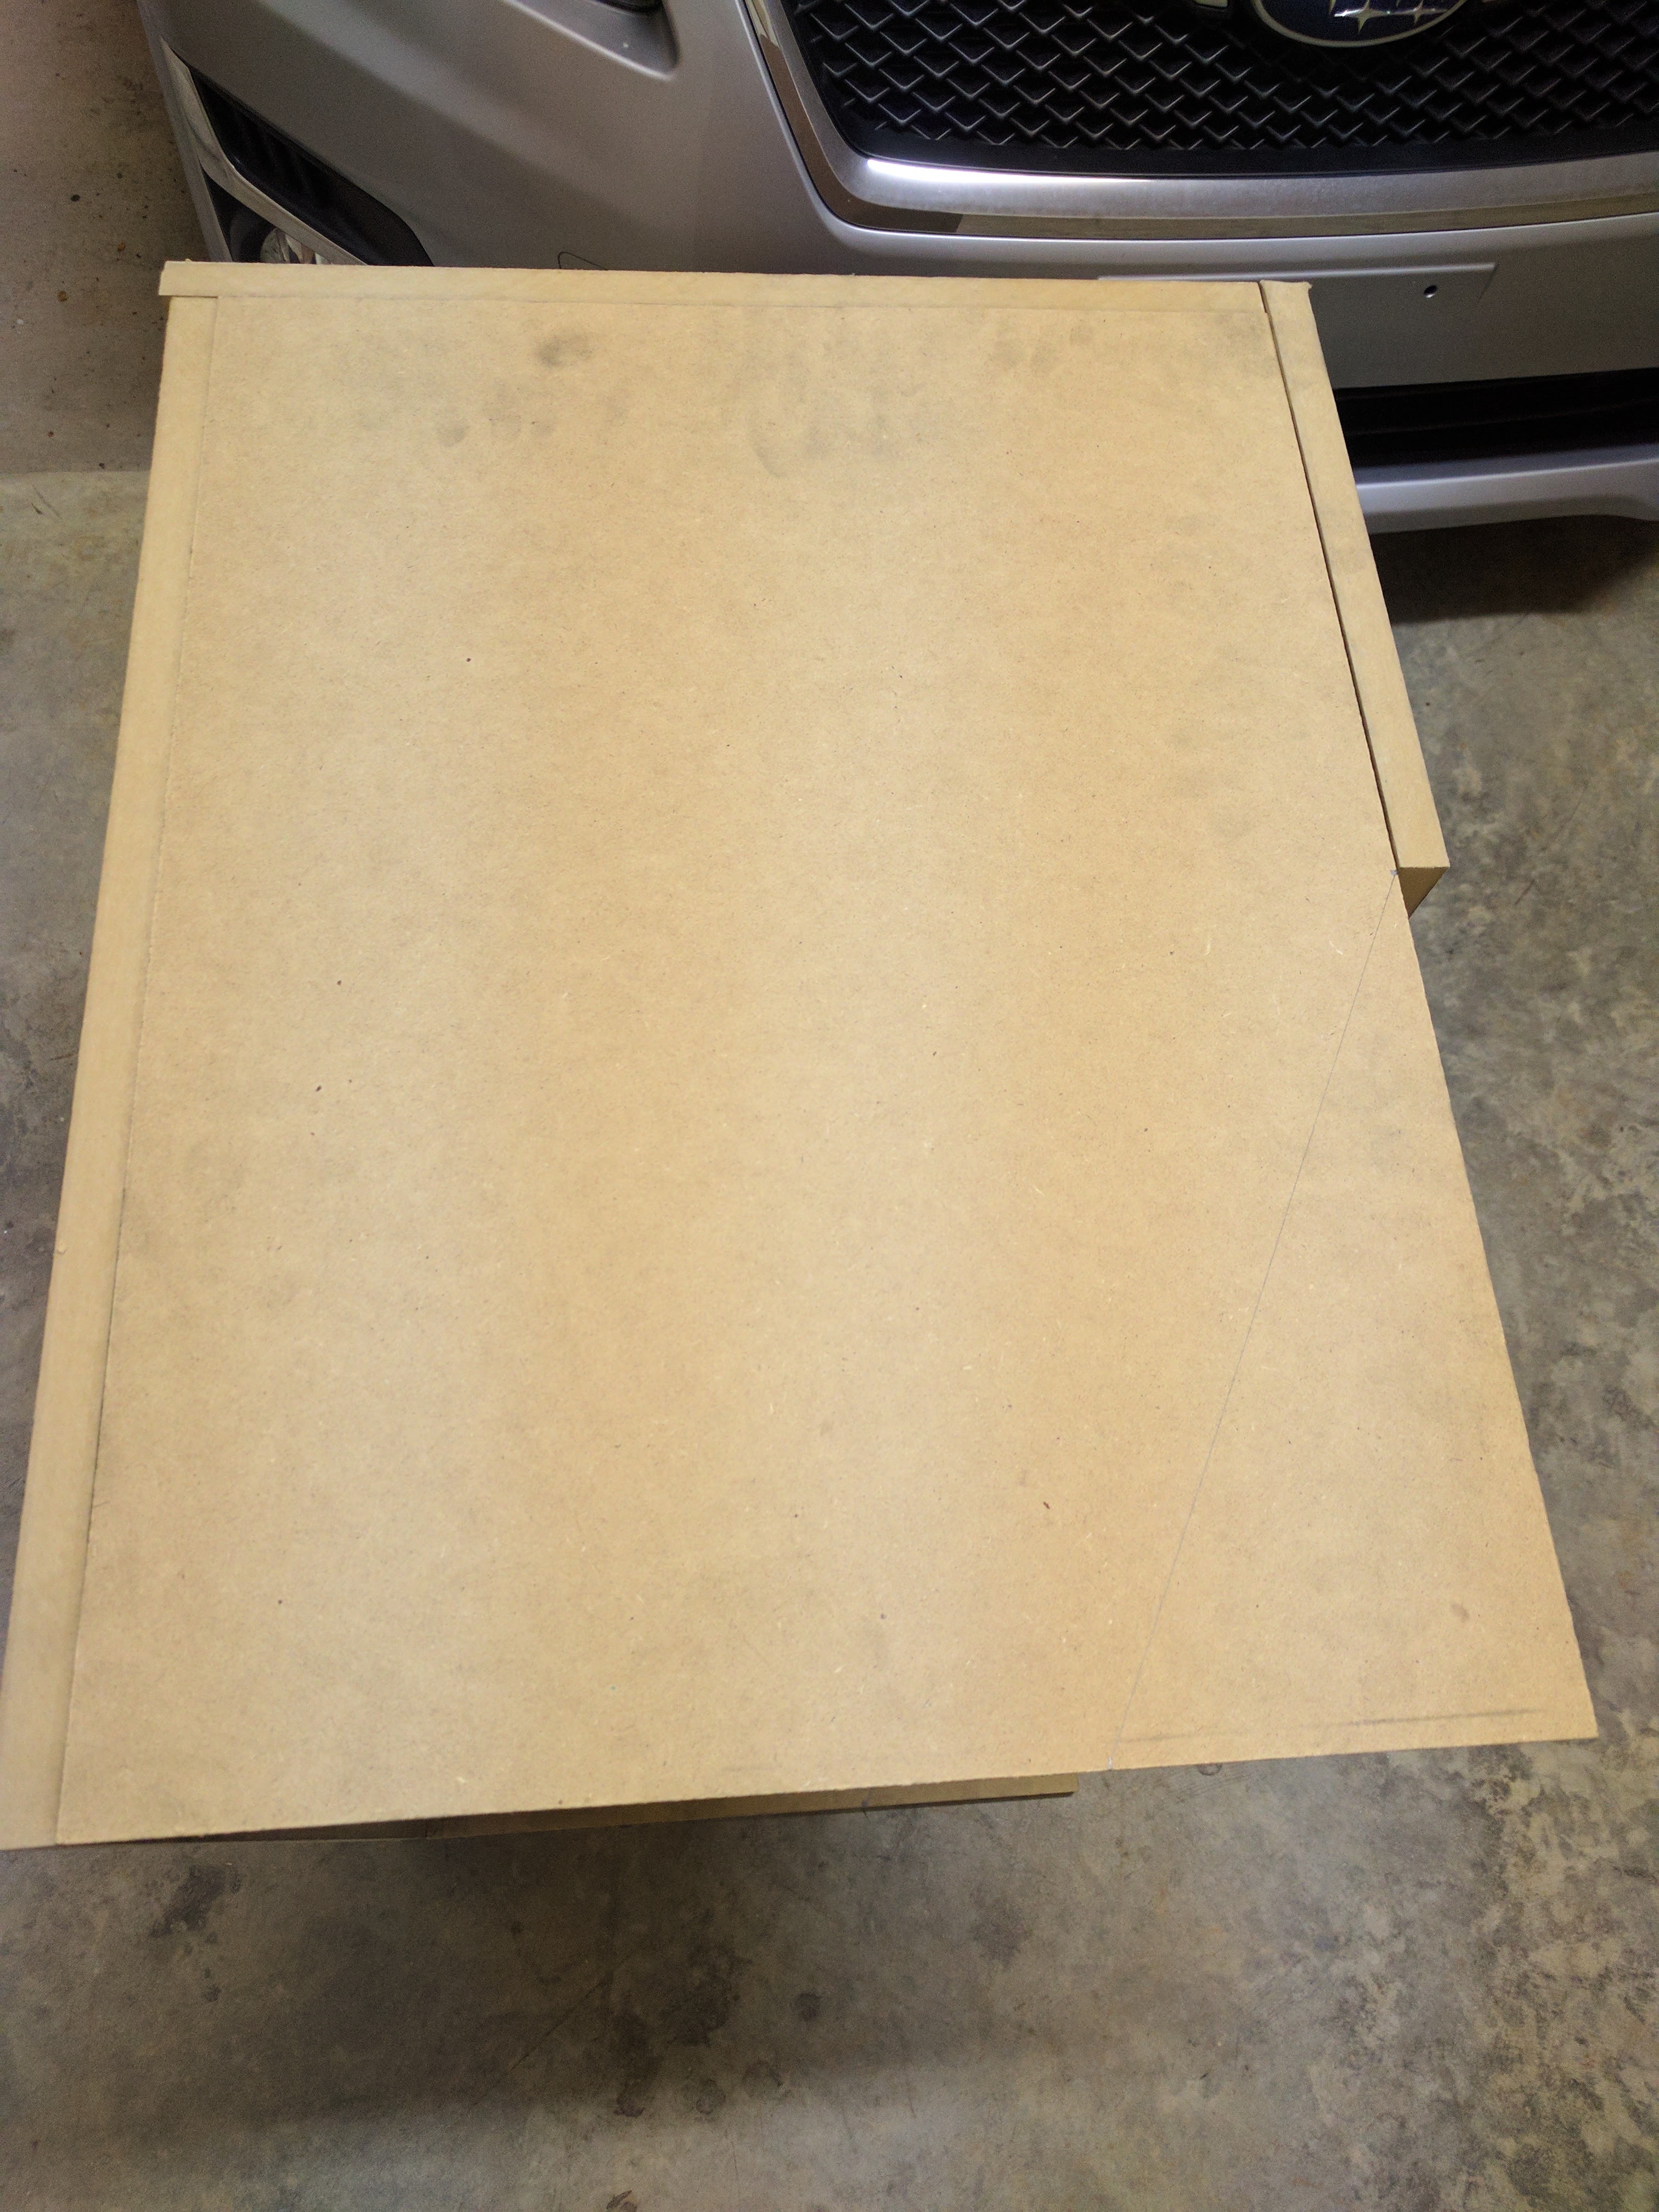 Assembled Support, pre asthetic cutouts, profile view
Installation 
Now came the most challenging part of this project - installation (of 56 lbs of MDF (the handboard itself hadn’t even been installed on it yet)).
The installation utilized a temporary support board to allow me to not worry about holding the MDF structure in the air, but rather just to push it towards the wall. I had to push the structure into the wall while drilling through the back of the structure and into where I had identified my wall studs. Eight 4” lag screws were used to attach the support onto the wall.
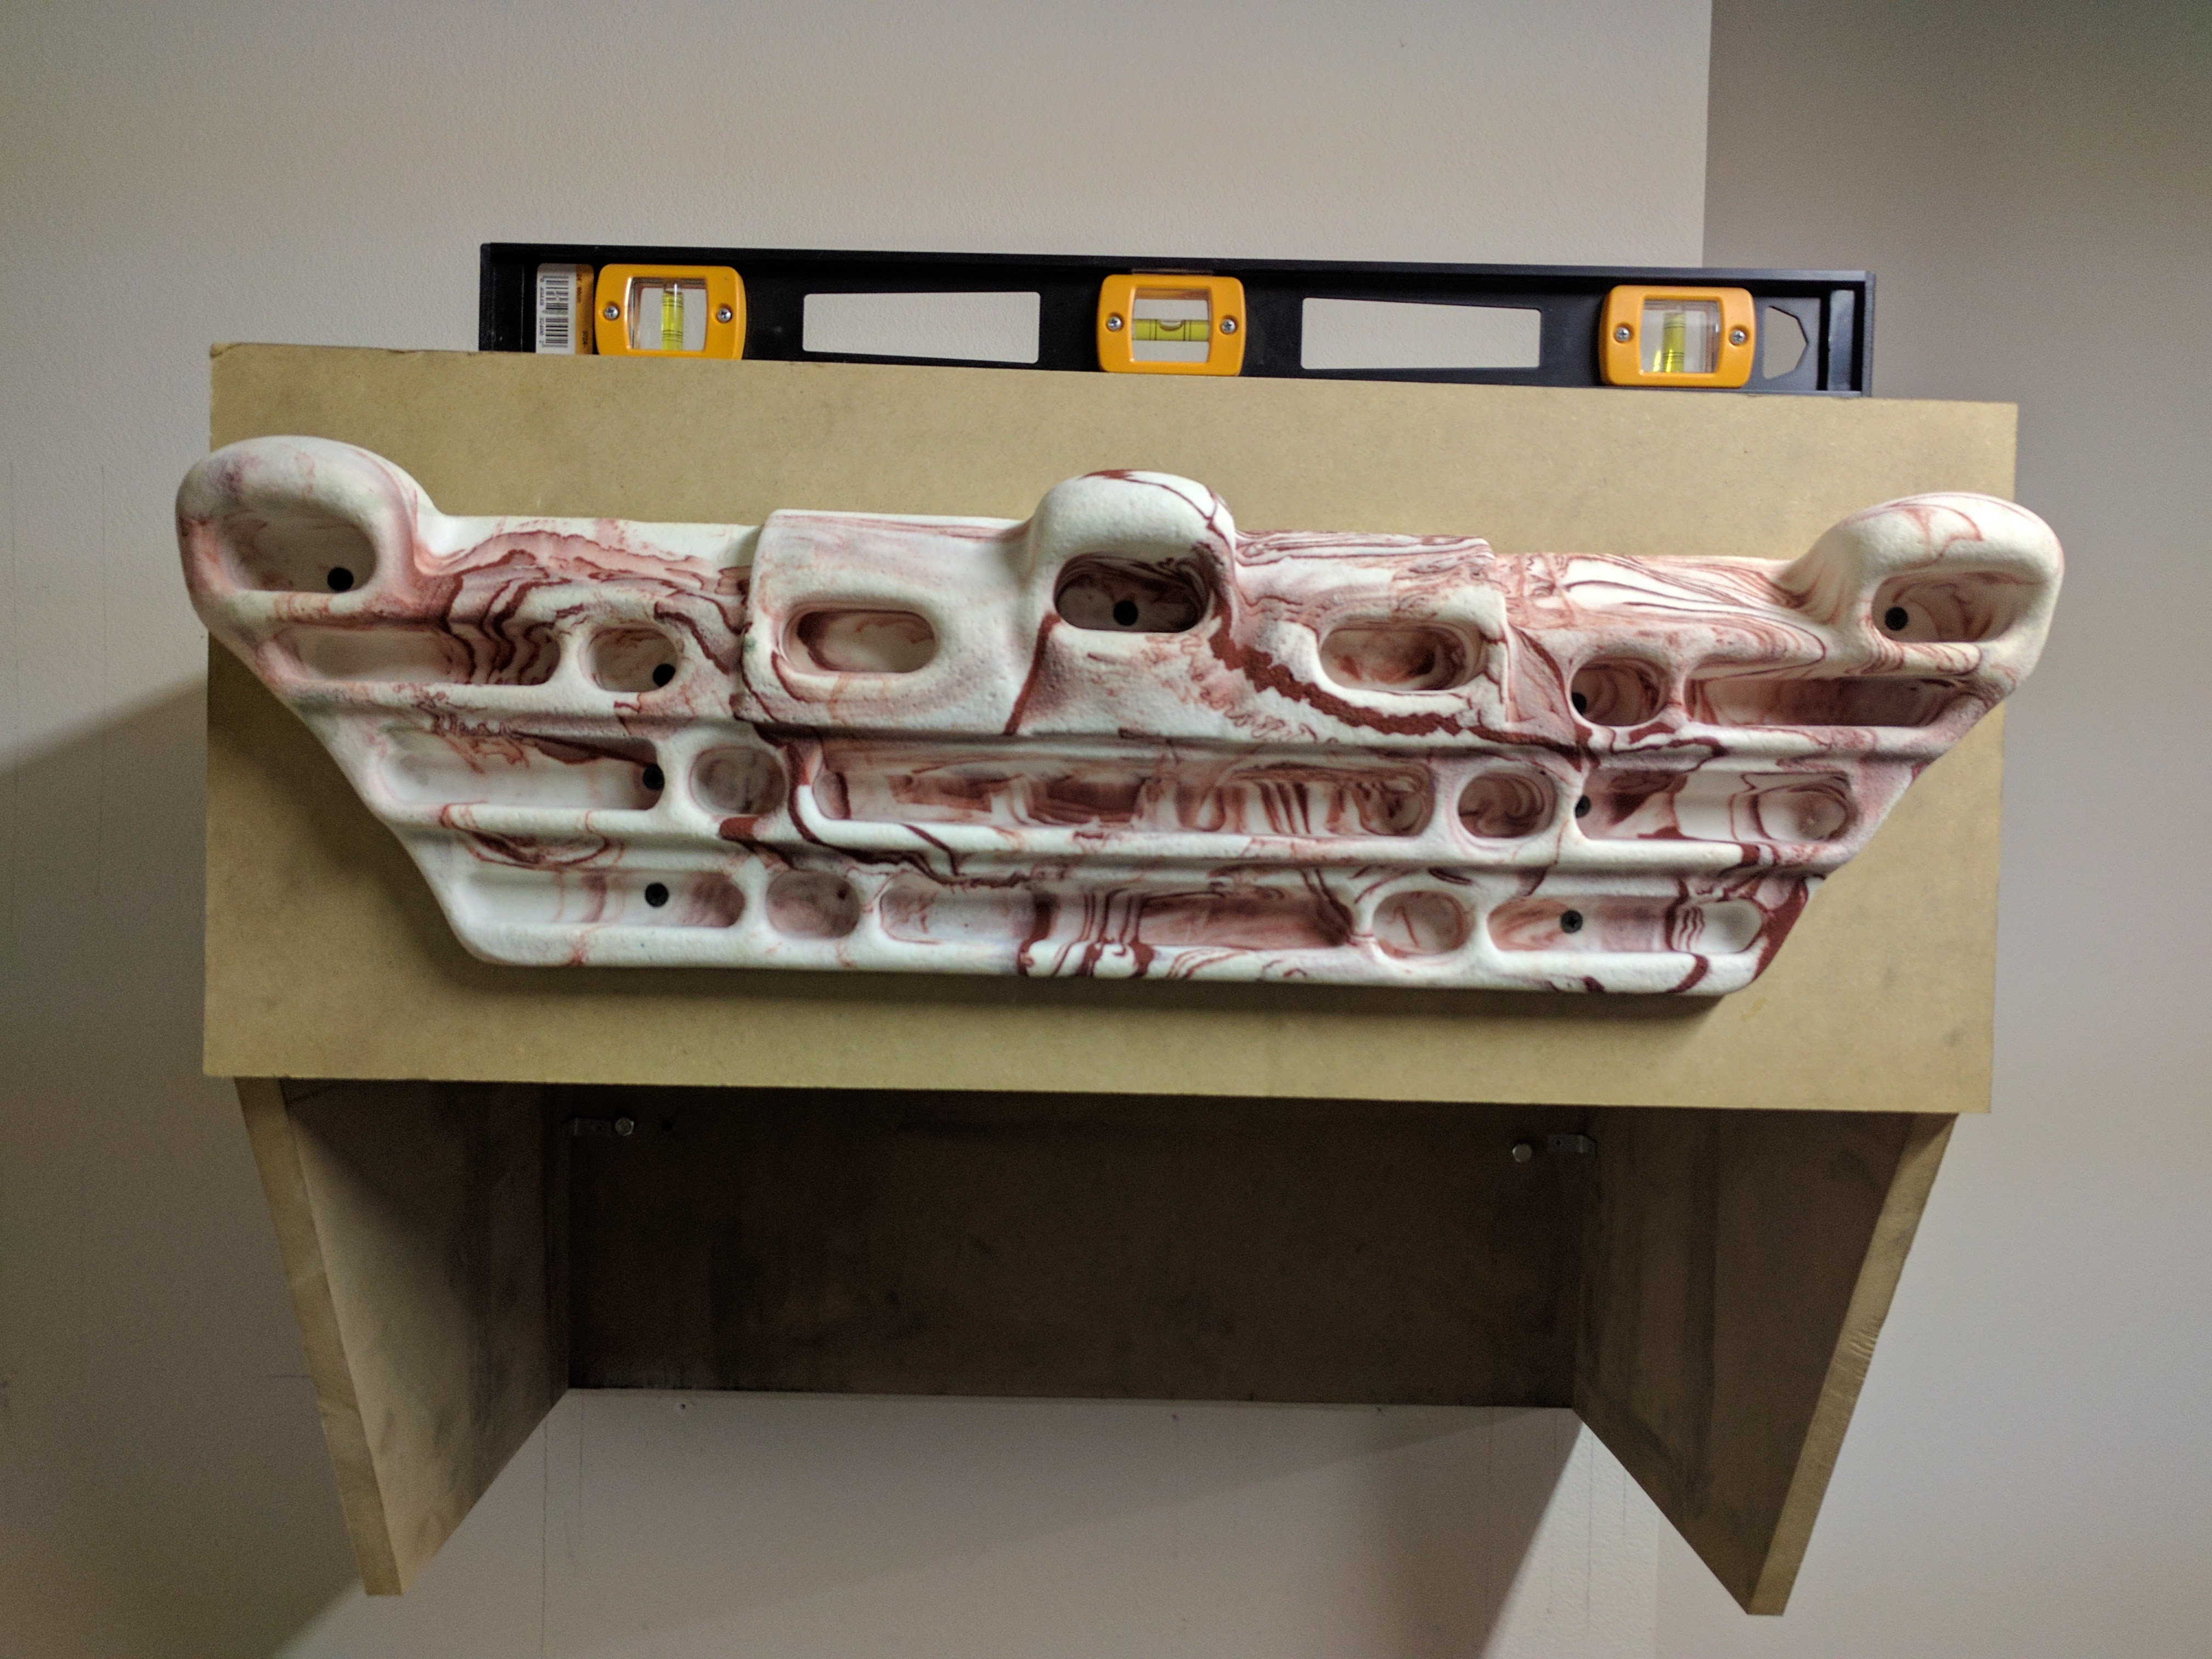 Installed Support, level shown
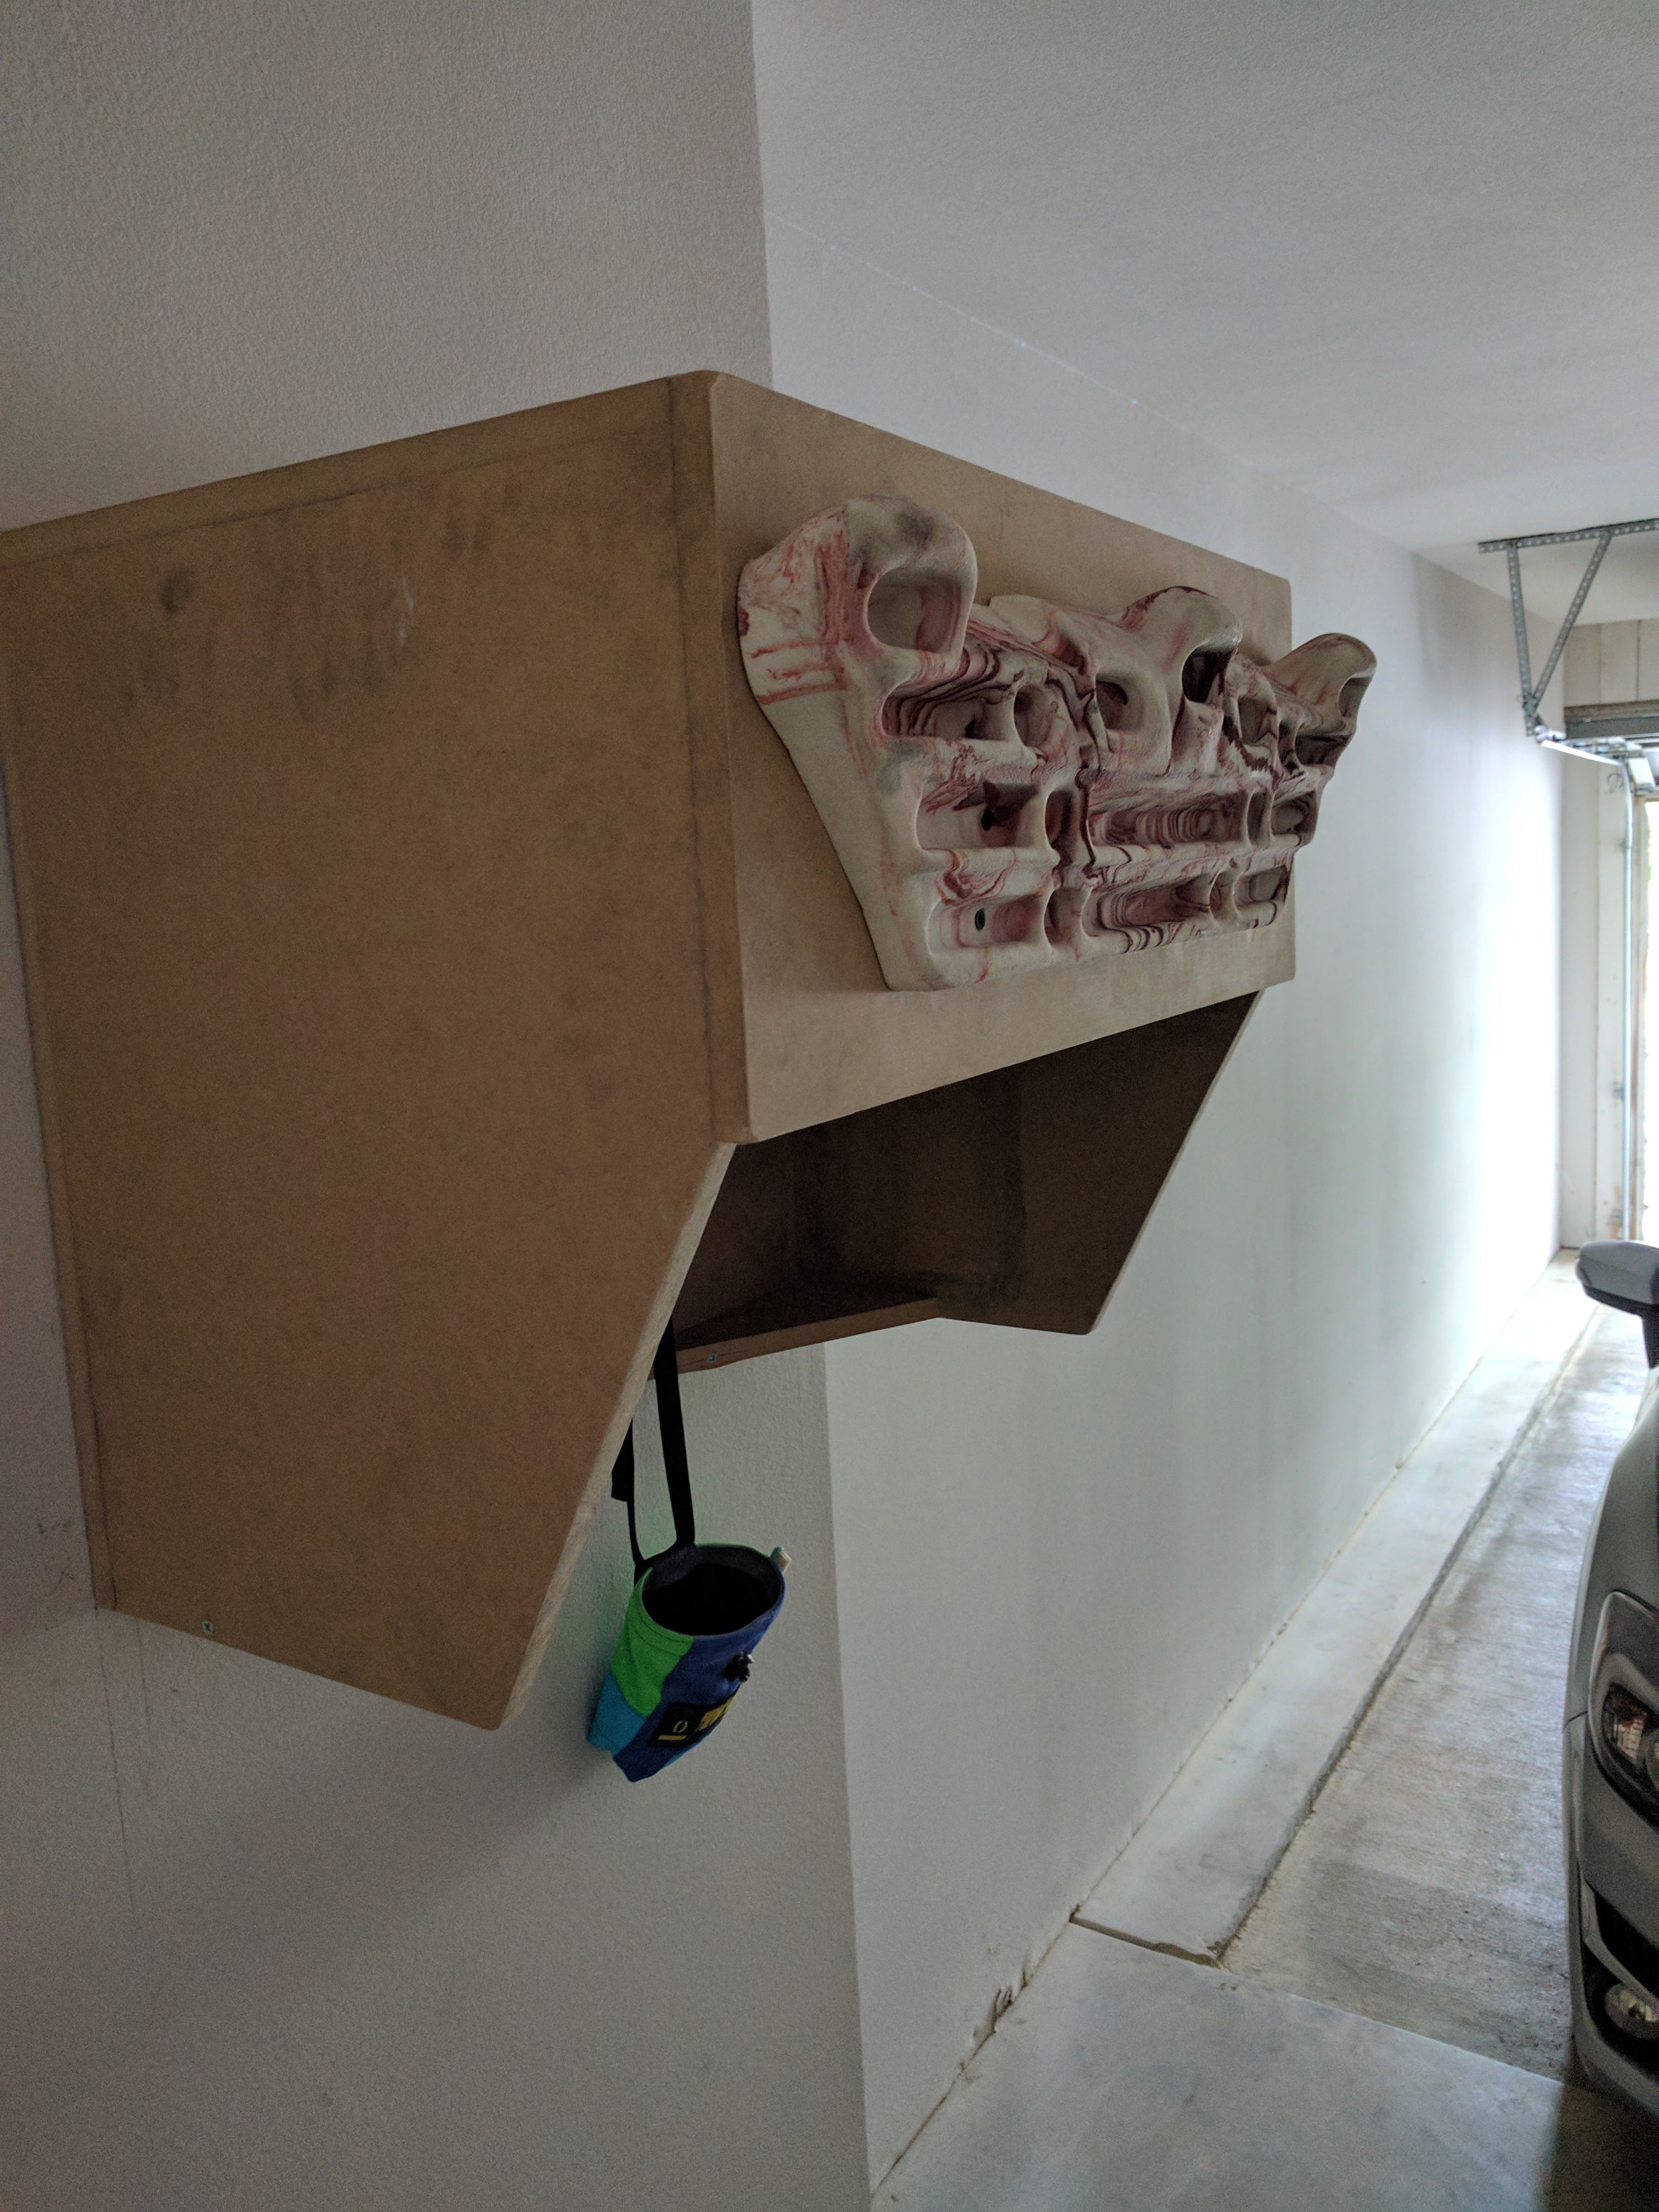 Installed Support, depth view
Testing 
With the support installed, it was time for the inaugural test of strength. Could it hold my weight without coming crashing down?
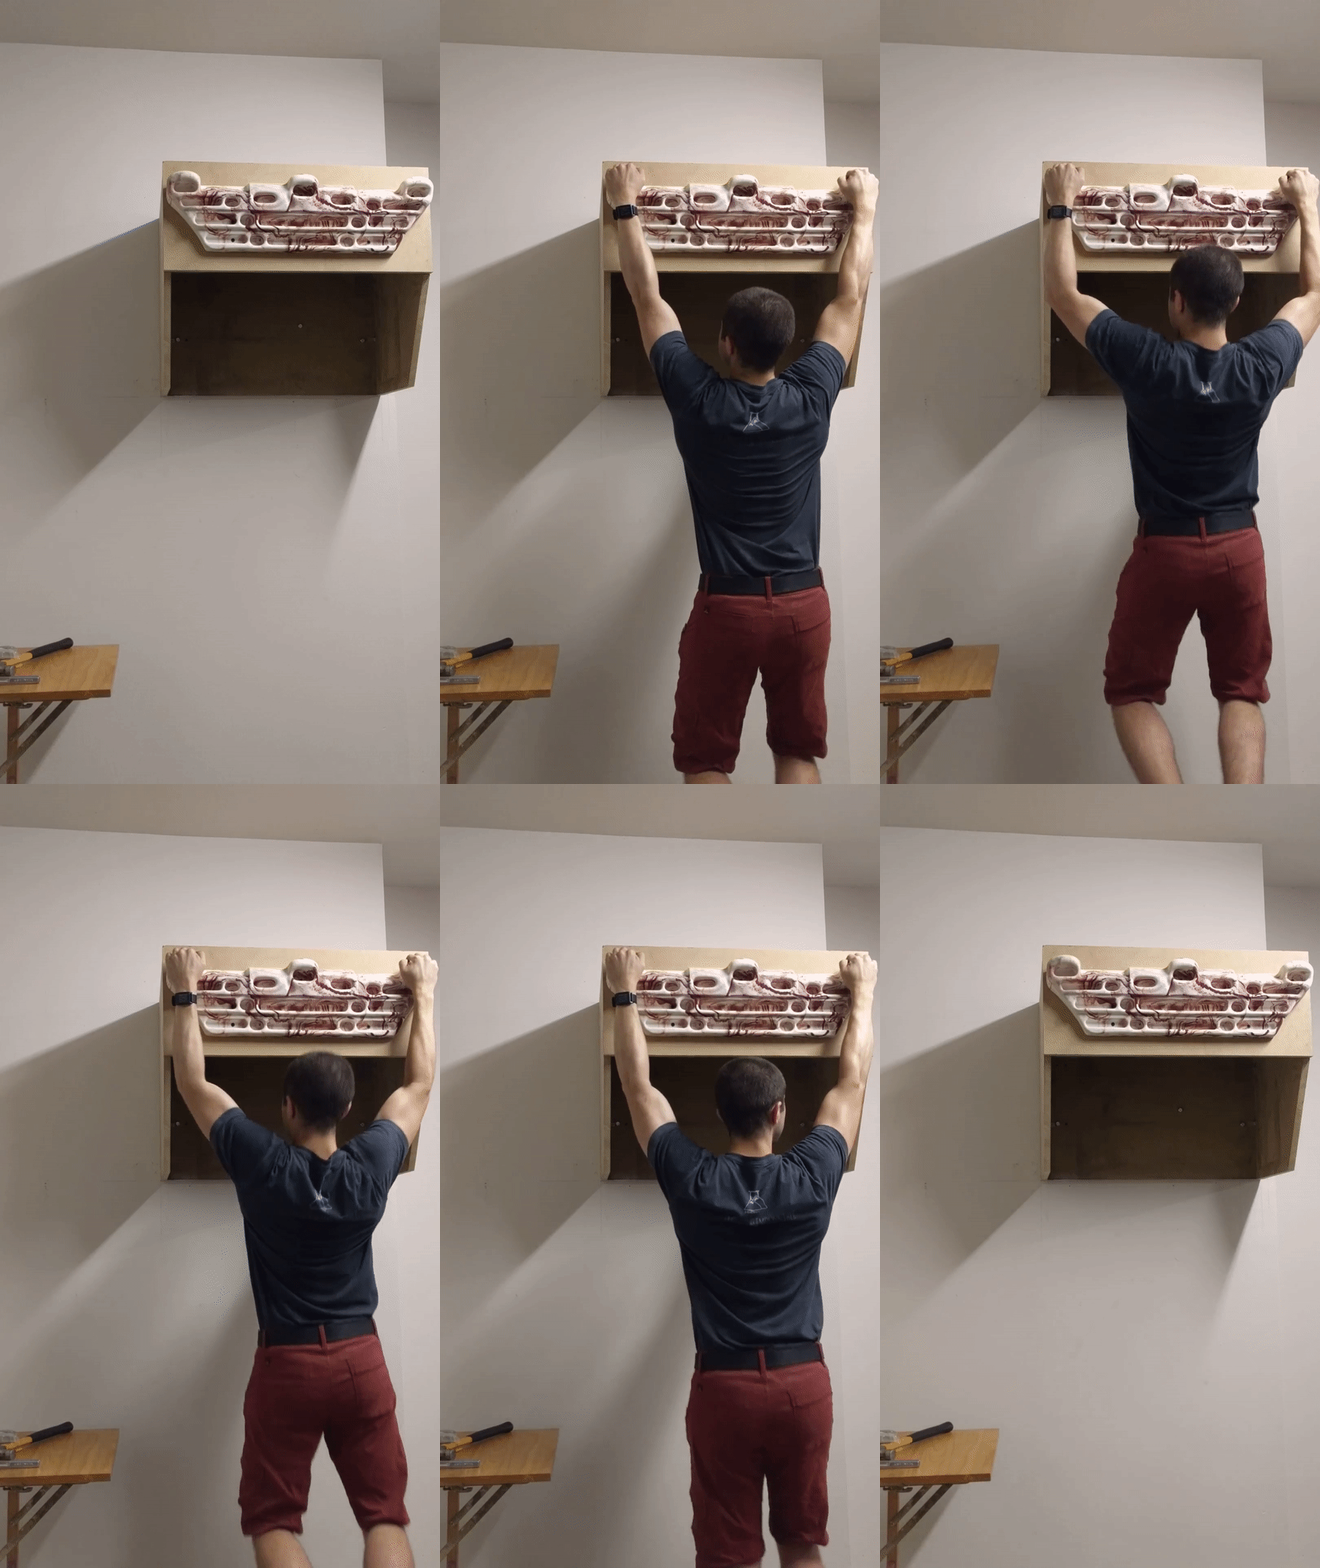
How much weight can it hold? 
Unlike the engineer I am, I didn’t calculate a theoretical max weight stability at any point during this project. I trusted the materials used by other DIY climbing training projects. However, now that I’m writing about this project I’m curious. In a future blog post, I’ll dive into this topic.
Areas of Improvement 
No project is without fault.
- Saw blade-width buffer
- When cutting from a sheet of MDF (or other material), consider the width of the blade when measuring the length of your cuts
- MDF is strong when drilling perpendicular to its panels; drilling parallel to these panels requires pilot holes
- Otherwise, expect your board to crack to the nearest edge
- Countersinks really improve the aesthetic of a wooden structure when screws are involved
- Don’t ever think that your hand is steady enough to free-cut a straight cut with a circular saw
- I strongly advise creating a track to aid in a perfectly straight cut